

A tensile structure does not get built the way most buildings do. There is no sequence of trades arriving one after another, and very little of it is made where it ends up. Most of the work happens in a workshop, and the part that happens at your site is the shortest phase of the project.
Here is what actually happens at each of the four stages, what you see as a client, and what goes wrong when one of them is rushed.
1. Form-finding: solving for the shape
Every project starts with the geometry of the membrane, and it starts there because on a tensile structure the shape is not decoration. It is the structure.
A flat piece of fabric has no way to resist a load pushing on it except by going slack, and slack fabric flaps, wears at its fixings and eventually fails. The way out is to curve the surface in two opposite directions at the same time - a saddle, a cone, a barrel vault - so that one set of fibres is always pulling against the other. That is double curvature, and it is what keeps the surface taut under load from any direction.
You cannot simply draw that shape. It has to be solved for, which is what form-finding software does: given the fixed points and the pre-stress you want in the fabric, it finds the surface that is in equilibrium - the fabric equivalent of the curve a chain settles into when you hold both ends.
Design the steel first and you are sizing members for loads the fabric shape has not decided yet.
This is why the order matters, and why a quotation produced from a photograph rather than a survey should be treated with suspicion. The shape comes out of the site's dimensions and anchor points. Change those and you get a different surface, different forces and different steel.
2. Structural engineering: sizing everything the shape implies
Once the surface is settled, the forces it generates are known, and the frame, the cables and the foundations can be designed to carry them.
The governing load case is almost never the weight of the roof. A membrane weighs grams per square metre; what sizes the structure is wind trying to lift it off. On an open-sided canopy the wind gets underneath as well as over, and the push from below and the suction from above act in the same direction and add together.
- Wind to IS 875 Part 3, using the basic wind speed for your location adjusted for terrain, height and the importance of the structure.
- Steel to IS 800, with the corrosion protection specified - hot-dip galvanising to IS 4759 / IS 2629.
- Foundations to IS 456, sized for uplift and overturning rather than for bearing, which is the part that surprises people.
- Seismic where the zone and the structure make it relevant.
This is the stage that is invisible in a finished photograph and the one most often thinned out to win a price. Why a tensile roof is held down, not held up goes into why the foundations are the serious part.
What you should see at the end of it: fabrication and installation drawings, a load basis, and the footing design with the soil assumption written down. Nothing is cut until those come back approved.
3. Fabrication: almost all of it happens in the workshop
Two things are made in parallel, and neither is made at your site.
The steel is cut, welded, drilled and then hot-dip galvanised. The order matters: galvanising is a bath, so every hole and cut made before the dip gets coated inside and out. A hole drilled afterwards - on site, because something did not line up - is bare steel at a connection, which is where corrosion starts.
The membrane is patterned and welded. Patterning is the step where the double-curved surface from stage one is flattened into two-dimensional panels that can be cut from a roll, with the fabric's stretch under pre-stress allowed for. Get the compensation wrong and the roof either will not come up to tension or will not fit at all. The panels are then joined by high-frequency or hot-wedge welding, which fuses the coatings into a continuous seam - not stitched, because a stitched seam is a line of needle holes in a roof.
Which membrane depends on the job: PVC-coated polyester for most commercial work, PVDF-lacquered PVC where the surface has to stay clean on a dusty site, PTFE-coated glass for permanent or high-fire-class structures, ETFE film where light through the roof is the point. The material guide covers the choice properly.
4. Installation: the short, visible part
Meanwhile, at your site, the footings are excavated and cast - and then left to cure, which is the one part of the programme nobody can compress.
When the steel arrives it is already finished, so erection is quick: stand the frame, align it, check the levels. Then the membrane is lifted into place and tensioned, usually with turnbuckles or adjustable fittings, until it reaches its design pre-stress and the surface is taut everywhere with no wrinkles or slack edges.
Those adjustable fittings matter beyond installation day. Coated fabrics relax slightly under sustained tension over the first year or two, which is normal and allowed for - but only correctable if the structure was detailed so it can be re-tensioned.
Handover should come with a pack: drawings as built, the load report, material certificates, and a stability certificate. If a structure is handed over with nothing but an invoice, there is no record of what was designed or to what.
The stages do not change with size
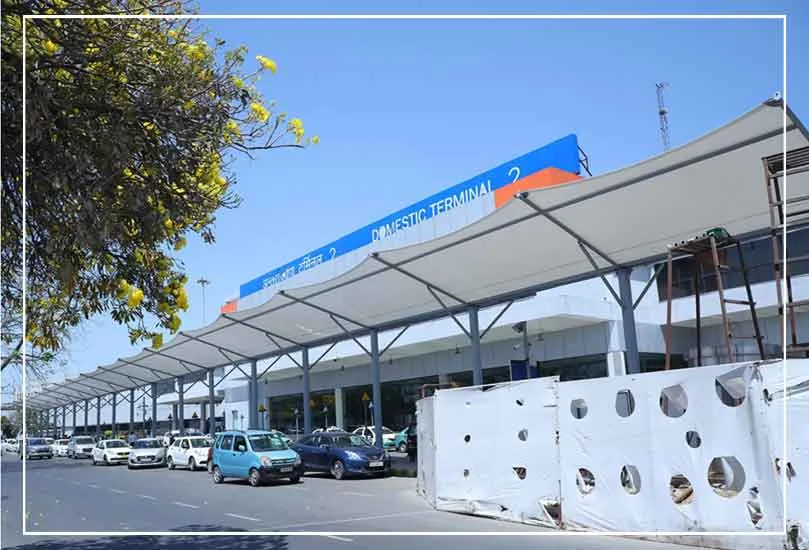
This is the part worth holding on to. The four stages are the same for an 8,200 sq ft airport walkway and for a canopy over one car at a house. The span changes, the steel sections change, the programme changes. The sequence does not.
Which also means the questions are the same at any size. Was the shape form-found or guessed? What wind speed was it designed for? Was the steel drilled before galvanising? Can it be re-tensioned? A one-car canopy that cannot answer those is not a smaller version of a good structure - it is a different thing that happens to look similar.
Ten questions to ask before you sign turns that into a checklist you can take to any quotation.